First, I cannot repeat enough about "LAYERS"!! Always work from multiple layers, always, always, always!!! I hope that sunk in. There is a window within PS that will allow you to open & edit the layers individually. What I do is to first "Crop" the picture, after I saved the new image as something different from the original image. Then I open a new 'duplicate layer' and do my Sharpennig, see the "Filters" tab? Drop down to "Sharpen" and then to "Unsharp Mask", then adjust as you see fit. Always save image as a PSD file, then as a jpg (Or what you want to use) because that way, if you decide you wanted to adjst something again, you don't have to start over.
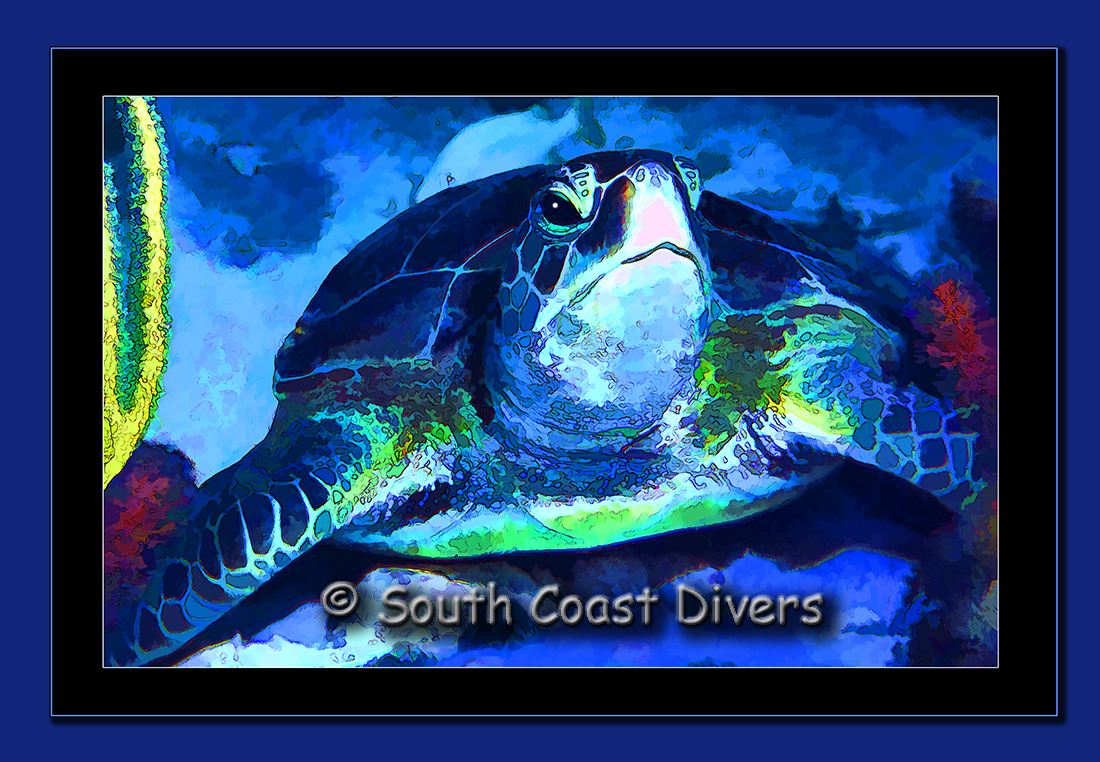
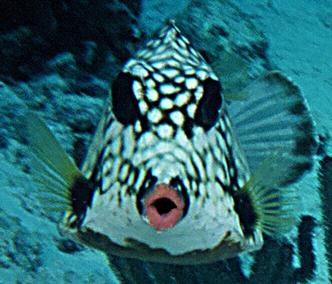
See the pictures on the right? When I was taking a shot of this Cowfish, it was really tough to get the "head on" shot that I wanted, usually you get a side shot or a "butt shot", straight on is tough, they just don't cooperate. But I got this one, I knew it needed cropping and I was disappointed that it wasn't in the best focus either.
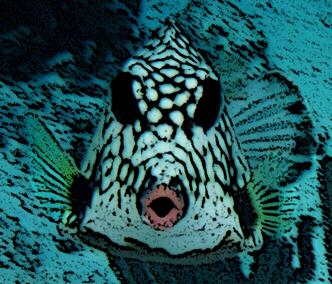
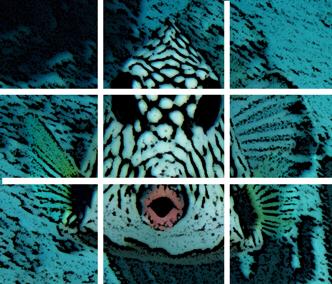
In the top image, is the original image, next is the cropped image, not in perfect focus. The next one shows the Sharpened image and the last one I decided the Sharpened image wasn't what I wanted, so instead of the Sharpen, I Posterized it instead. Huh? What is Posterization Rich? Well, it is under the "Artistic" tab, then the "Poster edges", adjust as you want, again, from a duplicate layer. I did some contrast adjustments around the 'fins' and the eyes, I also made the center of the mouth black and enhanced the lip colors to add some more impact. I liked how this came out and I titled the shot "Kiss me" and I blew this up to a 16x20 and it hangs on my wall in a 20x24 frame with a matt I cut myself, more on that in the matting & framing sections. This image looks even better on a metalic print.
In the bottom image I wanted to show you the "Rule of thirds" that I wrote about in the "Taking great pictures" section. My goal was to get the viewer to see the mouth, hence the title of the image.
I have found that the photo labs I use ( ProPhoto in Irvine & Kodak Galleries ) say that when they print on their printers, they print at 150 DPI. So to enlarge your shots there is an excellent 'plug in' from Alien Skin called "Blow Up" and it uses a different type of pixelization to enlarge your image, consider getting that plug in.


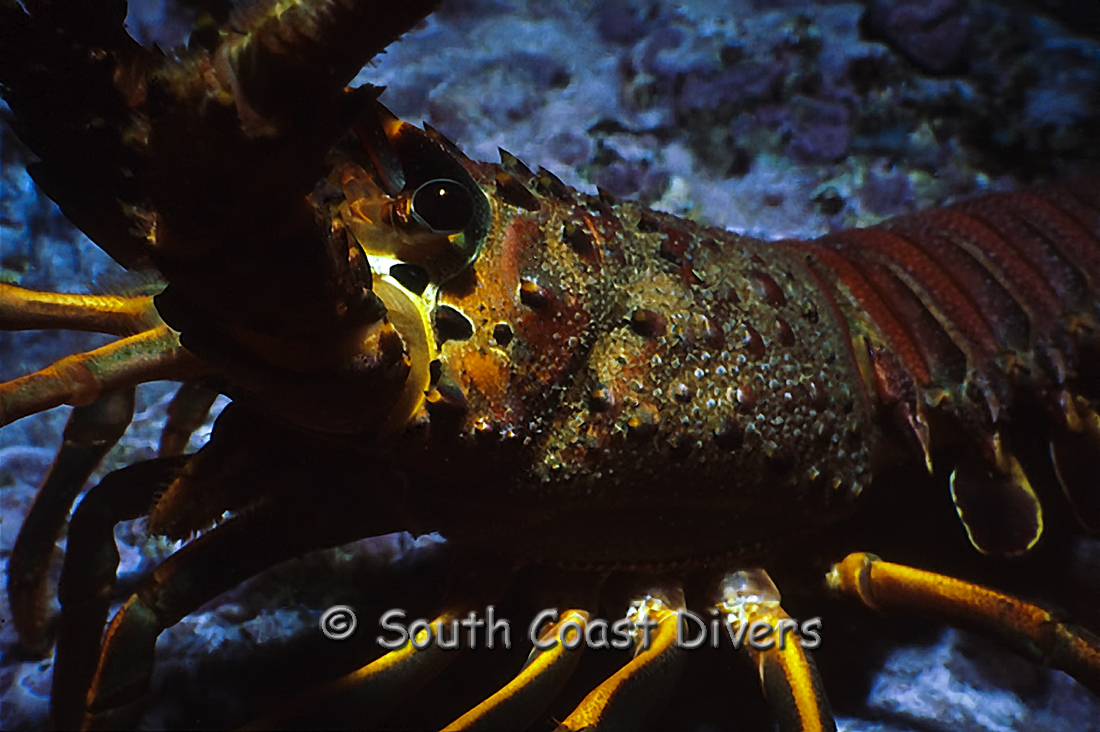
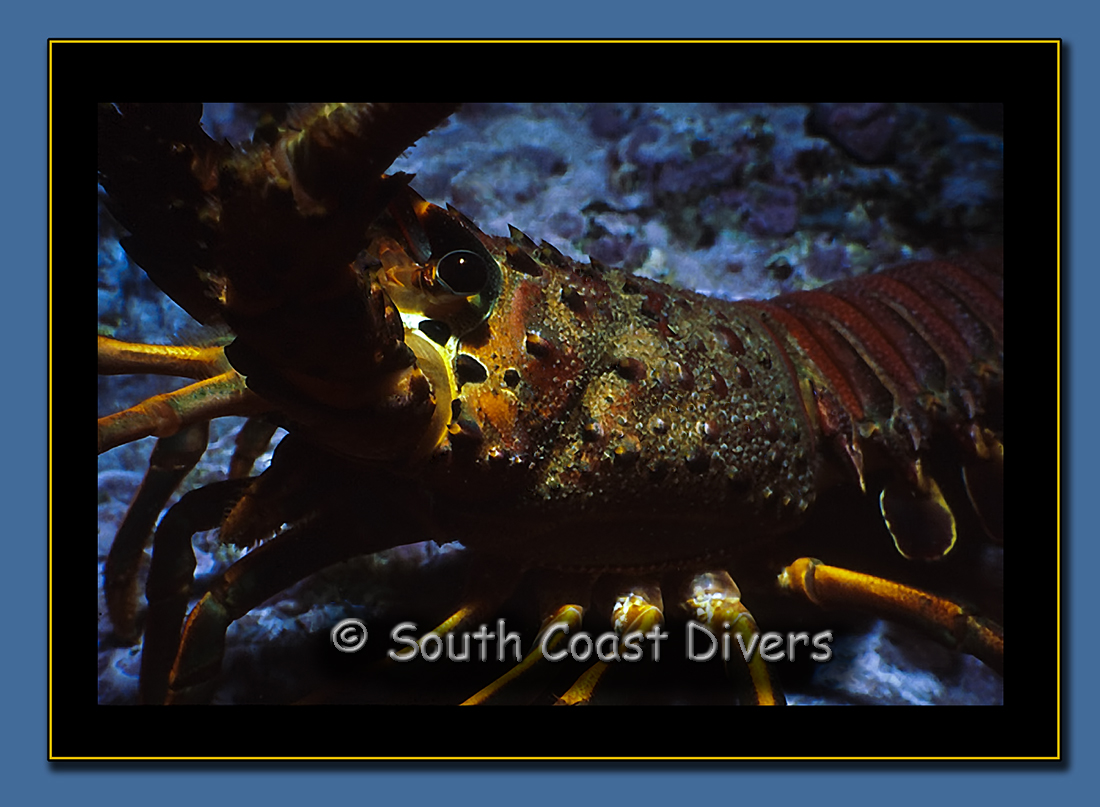
Click on above images to see this shot in the SCD Gallery.